Growing up in the lowlands, I was sold an image of mountains. Mountains had pointed peaks, steep granite cliffs, gnarled fanciful forests, tranquil reflective lakes… surprises at every turn. As I grew up, I realized the reality of mountain landscapes doesn’t always live up to the dream. Sure, they were big, bold and beautiful… but usually missing some secret ingredient. However, there is a place where that childhood vision becomes real; it’s located on the eastern flanks of the North Cascade mountains in Washington State. And it’s aptly named: The Enchantments.
Click here to see the Enchantments gallery
Getting There
As with many of the best places in the world, this one is hard to get to. There are no shortcuts; it simply takes a lot of effort and determination.
That effort starts with getting a permit. In an effort to reduce the crowds of well-meaning interlopers, the forest service limits the number of overnight camping permits issued for various areas in and around the Enchantment Lakes basin. Advance permit applications have to be submitted by a deadline in the spring. That takes a lot of advance planning. Alternately, you can simply show up at the ranger station in Leavenworth, WA early in the morning, and try to get a limited number of same-day permits. But, it’s hard to count on that. (Though, there are other very nice permit-limited areas nearby, and you can usually get a permit for one of them).
I’ve never seen this stated, but my suspicion is that in order to get an overnight permit for the lakes basin proper, you’ll need to request at least 3 nights. My hunch is that the forest service thinks people overestimate their ability to get to or from the lakes basin in one day, so they want make sure you have ample time to cover the distance.
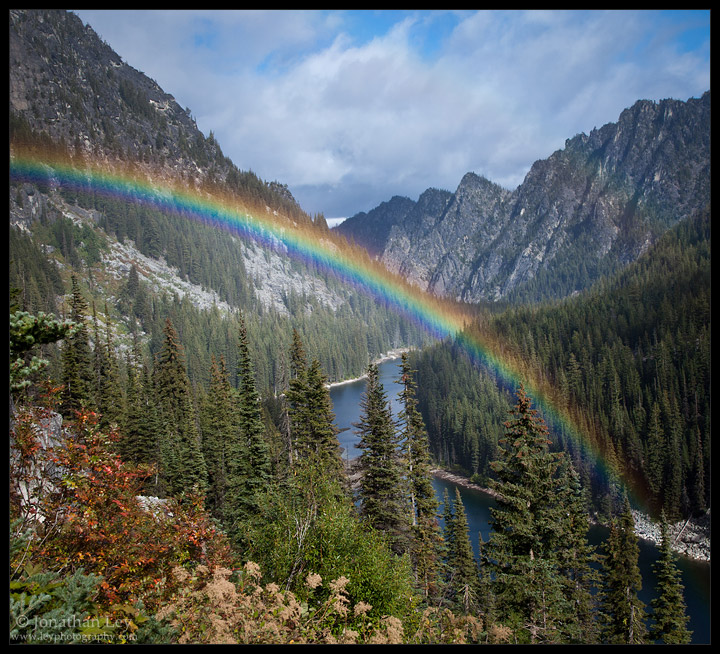
The effort continues with a brutal approach hike. The high alpine terrain of the Enchantment Lakes basin is usually the goal. To get there, you have two choices of trail – long and steep, or not-quite-as-long and steeper. The first choice approaches from the north, heading a dozen miles up 5500ft in elevation gain, past some burned forests, a couple lower forested lakes, and finally over a series of steep granite slabs, where the “trail” becomes more of a suggestion. And that’s the easy way. The other approach is shorter – only about 7 miles – and requires less climbing – only about 4400ft. But, the last 1000ft is a nearly vertical scramble up a crumbly and often icy indistinct route over well-named Aasgard pass. It’s certainly hikable – hundreds do it without incident. But, there have been accidents as well. Be careful, and know your abilities.
When to Go
Next, you’ll have to decide when to go. The lakes basin melts out in July most years. It’s a pretty destination in the high summer and home to a healthy population of friendly mountain goats. But, if you can get lucky with good weather, the fall color of the larches is really over the top. From a distance these distinctive trees look like typical conifers. But, their needles turn golden and drop off in the fall. The color usually peaks around the first week in October. After the 3rd week in October, no overnight permits are required, but the larch needles will have fallen, and the snow and cold will be taking over.
For this most recent trip, I left the Snow Lakes trailhead (the long route) in the early morning, and got to the far end of Snow Lake by evening. Just beyond Snow Lake is a steep ascent to the lakes basin. I technically had time to get up to the lakes basin for sunset, and return. But, it would have meant coming down steep granite slabs in the dark, and alone – not exactly a safe idea. Plus, the weather was still clearing from a recent storm. Often, those conditions are great for dramatic photos. But in this case it was mostly socked-in up there.
Shooting in the Enchantments
So, I got up early to clear blue skies, climbed up the slabs, and arrived in the basin in about an hour and a half. If the weather cooperates, there is good shooting much of the day in the Enchantment Lakes basin. As the sun travels, it matches the slopes of some of the nearby mountainsides, casting some dramatic side-light even hours after sunrise.
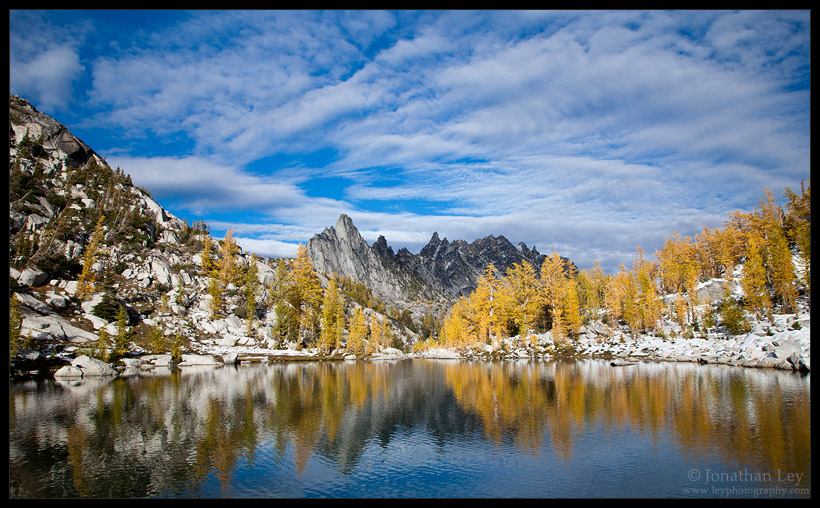
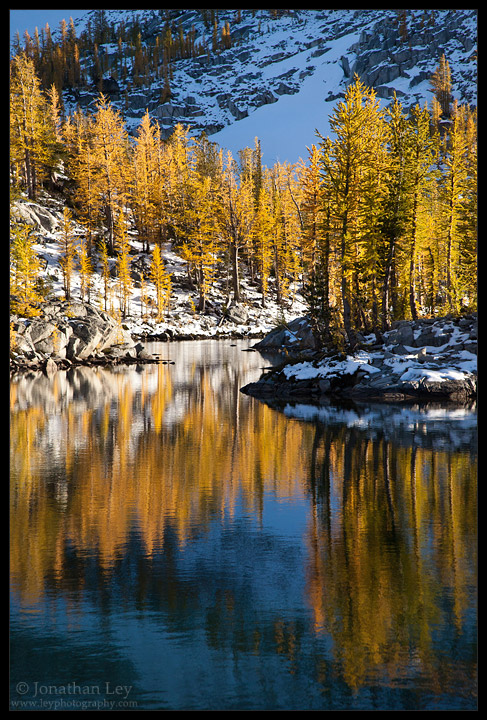
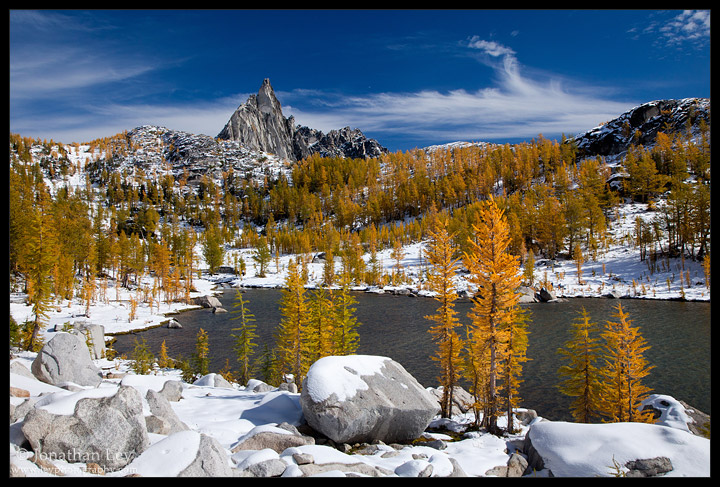
Calm winds are more common in the early morning and late in the evening, giving great reflections of the trees and peaks. I prefer just a tiny ripple of wind to give a hint of water, and a “ground” to a photo. A pure reflection is neat, but it can make a photo hard to frame, as there is no obvious base. Think about how things look when you press that shutter button. If I’d taken this photo 20 seconds earlier or later, the reflection would have looked very different. The clouds were changing rapidly too – this image caught a good mix of interesting balanced sky and a reflection that was “just right”. It would have been nice if the mountain was illuminated too, but I’ll take what I can get.
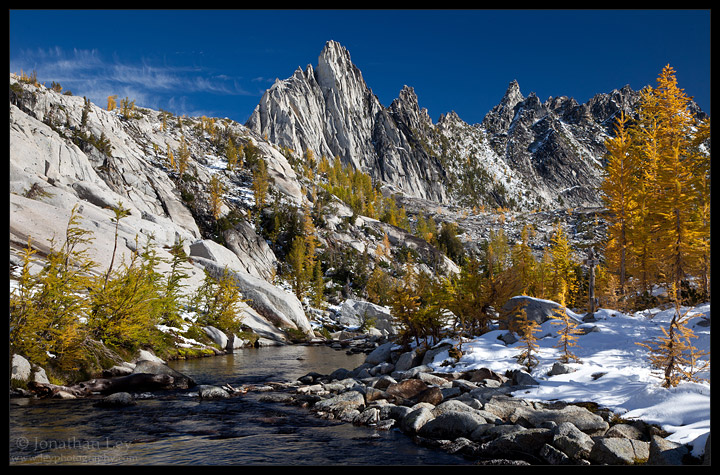
The sharp spire of Prusik Peak is the most prominent feature on the ridgeline, and can be a convenient exclamation point in a composition. The shape of Prusik Peak changes radically depending on the viewing angle. From some directions, the peak doesn’t look much higher than the nearby ridge.
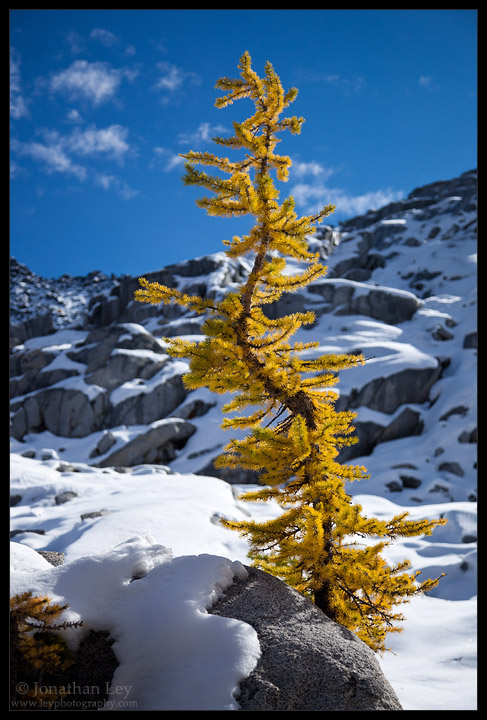
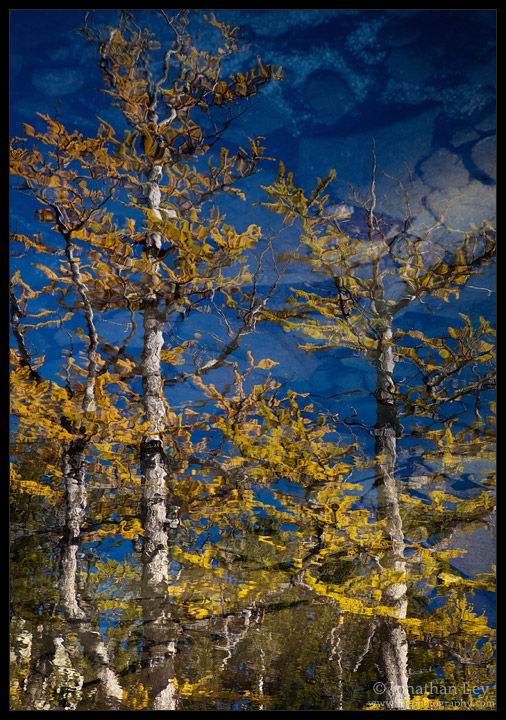
The most obvious stars of the landscape at this time of year are the Larch trees. The golden Larches glow in the light, and provide great contrast against the white snow or deep blue skies. Look for all kinds of light – sidelight, backlight, frontlight… each can make a scene glow in a different way. One of my favorite angles is to get the light coming from the back/side. This way, the individual needles glow from the light, but the background isn’t all washed-out from the sun. This angle of light can yield shots illuminated like the image below/left. This image also captures the uniquely twisted spine of these hardy trees. Another approach is to use a tranquil lake to fill in the color. The other images below use this approach. The image to the right is a reflection rotated 180 degrees – remember, there are no rules in photography – present your images however you wish!
Equipment
Because this was a longer and relatively difficult hike I had to carefully pick which lenses and other equipment I brought. On these hikes, I always start with my most versatile lens – the 24-105 zoom. Next, I added a few accessories like a close-up lens, some graduated ND filters, a remote timer. I still had a little weight left, so I splurged and brought my heavy 100-400 zoom. I’m not sure if that was the wisest choice. As it turns out, I didn’t use it much… and hauling that heavy hunk of metal and glass was a bit of a burden. But, I’ve had too many instances where I’ve seen a once-in-a-lifetime shot that I could only get with such a lens. So, it’s like an insurance policy. Lastly, of course, I brought my tripod. I have a lightweight carbon-fiber Feisol tripod with a Really Right Stuff ball head. All this stuff (and my camera body, an extra battery, memory cards and some cases) probably added up to 10-15 pounds. But, I made it there, and made it back. Whatever extra pain the weight caused is dulled by the results!
