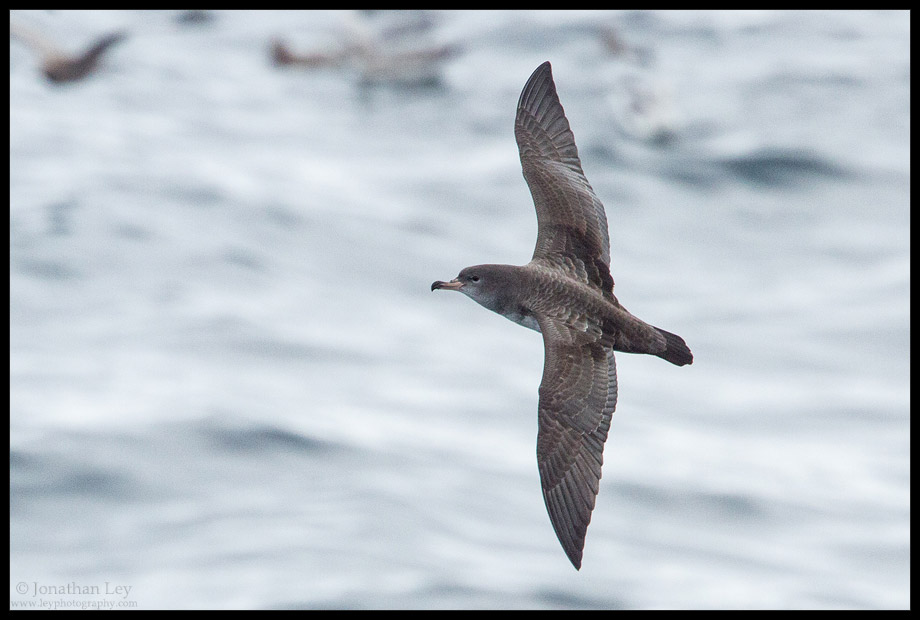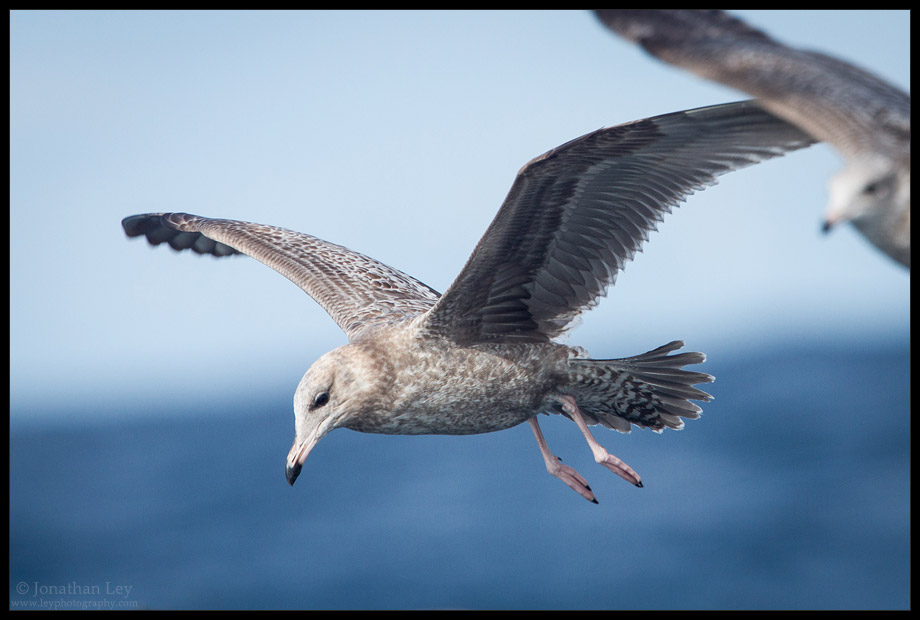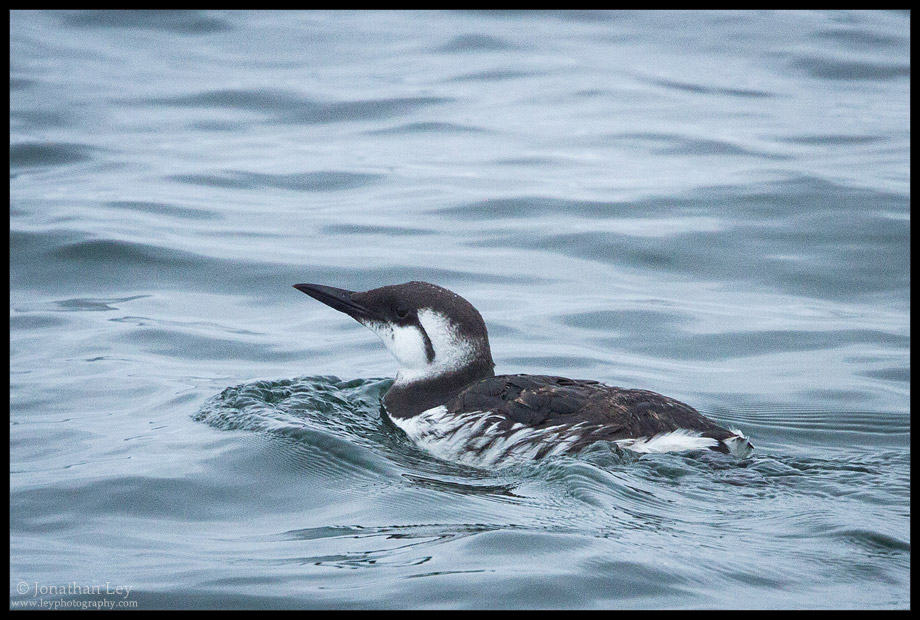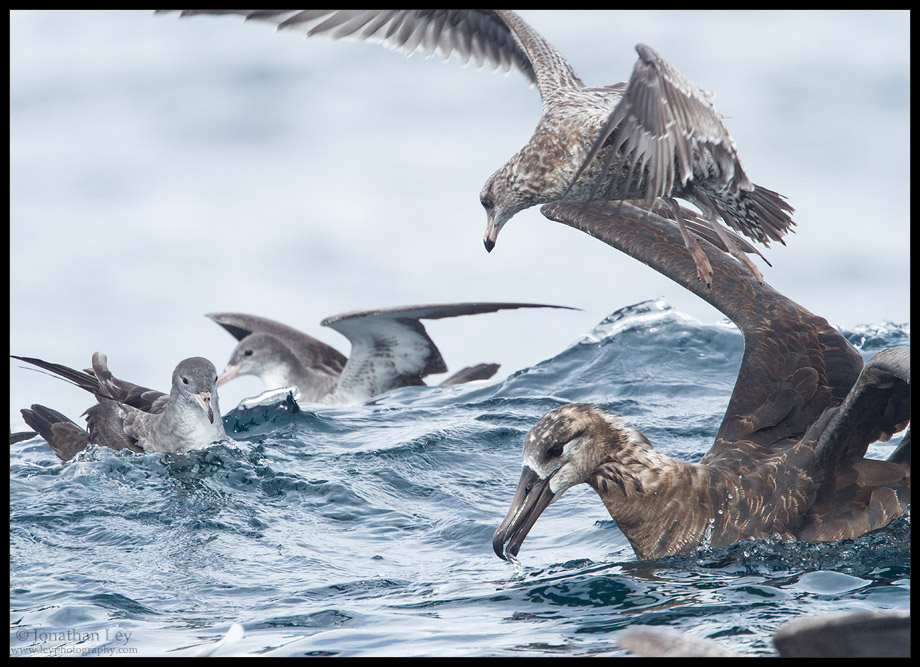
A large number of birds spend nearly their entire lives at sea – only begrudgingly landing on remote islands to breed for a couple months a year. The rest of the time, they’re aloft or afloat – following the rich food sources that lie just beneath the waves. If you’ve only been as far as the shore, it’s doubtful you’ve seen any of these birds. We’re not just talking seagulls, but Petrels, Shearwaters, Jaegers, Skuas, Albatrosses and more – these are the Pelagic birds (a fancy word for “the open ocean”). If you want to see – or photograph – them, you simply have to get out there.
Just about anywhere there’s coastline, you’ll find someone who has set-up a Pelagic Birding guide service. Generally, these will be operated by a few guides familiar with the species – their habits & appearance, and a charted boat more accustomed to fishing trips. Just let Google do the work, and find a trip that works for your schedule. On the central coast of Oregon, The Bird Guide Inc. is one such service, and I highly recommend them – the guides are excellent & knowledgeable, and the atmosphere is fun.
These trips can take place any time of the year, but most are scheduled when the weather is favorable, and the birds more interesting. In the northern hemisphere, the shoulder seasons of fall and spring see a lot of migrating species that spend the rest of their year in the far north, on remote breeding islands, or to the south. The summer can yield more locally-breeding birds, but those tend to be species you can see from shore nearly as well. Most guide services will have detailed information about their scheduled trips, including lists of birds and what was seen during the most recent similar trip.
Most guide services will have their own tips and advice about what to expect, what to bring and what to wear, but just a few general tips…
Don’t overpack: Space will likely be at a premium, and you’re not going to want to fiddle with a lot of stuff while you’re out there; try to get everything into one bag.
Food: If you think you can eat and not get seasick, bring a few simple snacks… Save complicated meals for after your return. Very simple foods like saltines can help settle your stomach a bit.
Clothes: Dress in layers, avoid cotton. Even if the weather forecast is clear and dry, wear a waterproof outer layer – expect that an errant wave will give you a good soak.
Camera: Bring the longest lens you can hand-carry, and a lot of memory. A clear plastic cover to keep the salt spray away from your electronics would be a good idea.
Bleeeeeaugh!: A lot of people get sick on these boats regardless of the conditions… I can’t add a lot to what’s written elsewhere about this. Just… good luck!
Shooting on a pelagic boat trip
Here are a few general tips, and things to think about…
Lens & support
When you’re shooting birds, you can never have a long-enough lens. However on a boat like this, you have to balance focal length with weight & maneuverability. You’re simply not going to be able to use a tripod & Whimberly head to mount your 600mm F4 monster. I have a 400mm f4 DO (diffractive optics) lens that’s a good balance of length vs. weight. To this I add a 1.4x extender to give an effective 560mm f6.3 lens. Any lens can become heavy to hold for extended periods. If you’re not actively shooting, rest your arms and back. Don’t hold that lens up to your face waiting for the next shot – before long, you’ll be tired or hurting, no matter how good of shape you’re in. It’s just a matter of physics. If you can rig some kind of small strap or monopod to help support the weight of the camera, go for it… But that monopod will work better if it’s secured to your body somehow. As the boat rocks around, your body will be adjusting and compensating. If you have a monopod resting on the boat, it can be hard to keep your eye in position. And speaking of straps – it’s a good idea on a boat. There are a lot of expensive cameras at the bottom of the sea.
Focus

Continual auto-focus will almost always be a better choice. On Canon, this is called AI Servo (AF-C on Nikon), this will constantly adjust the auto-focus, locking-in on the nearest focus-able item within one of your selected focal points. You’ll generally have better luck using a zone-focusing pattern, and not a single focus point. It can be very hard to get the target in the part of the frame you intend, so the bigger the focus area, the better. However, this can be a problem when a bird is on the water, as your auto-focus will often lock-in on the water in front or behind the bird. In that case, a small zone or a single focus point would be better. Trouble is that the boat and bird are usually moving so much that you have a fraction of a second to get it right. More than anything, you’re going to need some luck.
If your telephoto lens has a switch on it to limit “autofocus searching” to a particular range, use it. For example, on my 400 f/4 lens, I can switch between “3.5m to ∞” or “8m to ∞”. Nearly all the birds I was shooting were more than 8m away. So, the autofocus was much quicker with this switch set to “8m to ∞”, as the camera would not try to focus on anything closer than 8m away.
Even with all that, expect a lot of blurry birds. In fact, expect a lot of shots that were nearly fantastic but the @#^%@$^!!! autofocus was about 1m off – such is life.
A special note for Canon users – know the difference between AI Focus and AI Servo autofocus modes. AI Focus is supposed to be a smarter mode that can anticipate a moving subject. However, I’ve found that it almost never works as you’d like. Just stick with AI Servo.
Exposure
First thing: Put your camera on manual exposure. This is one of the most important tips on this entire page, and one that few people take to heart. If you rely on auto-exposure, your exposure settings are going to fluctuate wildly – one second, you’ll be pointing at a dark ocean, the next at a bright sky. These two environments are going to be telling your auto-exposure very different things, however the correct exposure setting will nearly the same for either situation. So, how do you pick the right manual setting?

Start with your camera in aperture-priority mode (Av), and lens “wide open” – at the lowest aperture setting (for the lens I described above, that’d be f4, or f6.3 with the 1.4x extender attached). Then let the auto-exposure work… take a few shots, and look at the histograms on them. Ultimately, you’re going to want two things: a good histogram, and a fast-enough shutter speed.
Got a good histogram? Good… now look at the exposure settings for that shot: shutter speed, f-stop, and ISO. Let’s say for example it’s: 1/200 seconds, f6.3, and ISO 800.
Now put your camera in manual exposure mode. Yes, manual exposure mode, not Av, not Tv, but M. Dial-in those same settings: 1/200 seconds, f6.3, and ISO 800. Every shot you take will now use those same settings, no matter where you point. However, you have a problem – 1/200 seconds is way too slow to get sharp photos of fast-moving birds from a rocking boat with a long long lens. You could maybe get away with 1/400, but 1/800 will be much better. So, let’s get to work…
First, adjust your shutter speed to 1/800. But, while you do this, count the number of “clicks” the little dial on your camera makes… click, click, click, click… you’re at 1/800. The number of clicks will depend on how you have your camera set-up, but let’s just say it was 4. So, to keep that same exposure you’re going to have to adjust your f-stop or ISO “4 clicks”. You can’t adjust the f-stop, it’s already as low as it’ll go. So, you have to adjust the ISO an equal number of clicks upward – click, click, click, click… and you’re at ISO3200. Yikes!?!? 3200?! A lot of photographers eschew these high ISOs because they think it’s too grainy. Well, grain is better than blur, and frankly, that’s all there is to say about that. You could maybe try to compromise, and get away with 1/400 at ISO 1600 – you just might get a lucky shot, but don’t say I didn’t warn you.

Be sure to check the histograms of your shots from time to time. You’ll probably start your trip in the dull light of dawn. As the day lightens-up, you will need to start backing-down the ISO to keep the histogram looking nice. If you get down to about ISO 200-400, you can start bumping-up the aperture to give you a little more room for error in the focus. You might even try bumping-up the shutter speed to 1/1000 or more – remember grain is way better than blur!
One more tip about exposure – it’s better to get a few shots in good light, than a zillion backlit ones. It’s best facing where there is good light, and wait for birds to pass by – either with your back to the sun, or to one side. There may be cases where you can’t avoid this however – if there is a flock on one side of the boat, that’s where you have to go. Plus, the boat can move quite a bit, and you might just have to go with the flow.
Shooting modes
A lot of people like to put their camera into “rapid-fire” mode and shoot away. I’m a bit mixed on this. The biggest issue is usually focus – best to make sure you can nail that. But getting a good in-focus shot requires luck too, so simply clicking away can increase your odds. One situation where the rapid-fire approach works very well is shooting large flocks of birds. Just snap a zillion of them, and maybe one will be really interesting!
Flash
A fill-flash with a Fresnel lens (like a Better Beamer) can be handy – often the lighting can be a challenge, and I’m of the opinion that fill-flash on birds is almost always helpful. However, it can be windy on boats, and that Better Beamer can act like a sail. In addition, a flash is one more thing that’ll add weight to your setup… and it’s one more thing that can get doused with salt water, or knocked sideways by an off-balance fellow passenger. So, this one is up to you; none of the example shots on this page used a fill-flash, as it was just too much to deal with.
Important: A flash is not intended to help “add light” when it’s too dark. That’s not the purpose – the flash should not affect your exposure settings. The flash is there to fill-in the shadows on an otherwise contrasty or shadowy subject. This is the purpose and very definition of a “fill-flash”. A fill-flash can help turn a photo that’s mostly silhouette into something where you can actually see the details. If you use a fill-flash, be sure to set it to high-speed sync mode. In this mode, the power of the flash will be reduced, but it will actually work at a fast shutter speed like 1/800.
And in the end…
Enjoy your time out there – live in the moment. Don’t get discouraged, expect a very low success rate – the boat is moving, birds are moving (pelagic seabirds are very fast), people are moving around the boat, and light & environment will be problematic. But, the experience is one that can only be lived.
